Project: Appliqued Birthday Shirts
06/10/2006
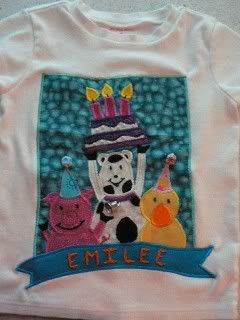
A friend of mine has twin girls, and they turned 3 this past weekend. To commerate the event, the parents decided to have a petting zoo birthday party, and I was asked to make some shirts to go along with the theme.
BACKGROUND
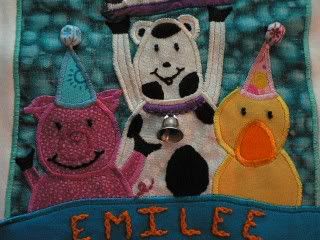
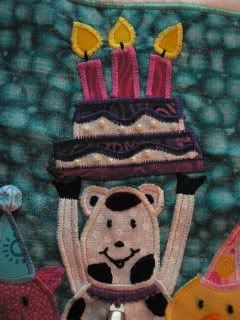
I tell you, it was not easy coming up with something to fit "barnyard birthday." My mind was blank! I decided to "google it" and was surprised to find some birthday accessories (plates, cups, etc.) that fit the theme pefectly. Ultimately the parents purchased the party accessories, and the design was born. I adapted the elements slightly. Since I was working on a 4T shirt I had to remove one of the animals and the bird that is in the original design. I then added the birthday cake and party hats.
I decided to hand embroider the girls' names on the banner. I've been expanding my hand embroidery skills lately - more than the simple cross, back and straight stitch. My grandmother use to do lots of hand embroidery, and that's something I plan to continue in her memory.


TECHNIQUES
I started by drawing the design on a piece of 8 x 10 paper, and then went over the major lines with a Sharpie marker. I then turned the paper over to reverse the image. I used Heat and Bond light to trace the pattern, and then attached the pieces to the appropriate color of fabric. I then heat set the pieces directly to the background fabric. (With a small shirt, it's easier to attach one large background fabric to the shirt rather than trying to applique each piece individually.)
Next I appliqued each piece, starting with the parts of the picture that would be in the background first. I then hand embroidered parts of the pig and cow. Next I added beads for the eyes and hat tops, and finally a cow bell. I then attached the entire piece to the shirt and appliqued all the way around. The final step was to hand embroider the names to the banner.
Repeat entire process . . . since there were two shirts!

0 Comments:
Post a Comment
<< Home